

Every great shooter has a signature shot, but the mechanics underneath are surprisingly consistent. The feet are balanced. The shooting side is aligned. The ball starts from a repeatable place. The guide hand stays quiet. The release finishes the same way. What separates elite shooters from everyone else is the ability to repeat those mechanics thousands of times until the motion becomes automatic.
JJ Redick described it directly in a conversation with fellow shooter CJ McCollum: "Shooting is all about consistency. It's doing the same thing, or as many repeatable things over and over again."
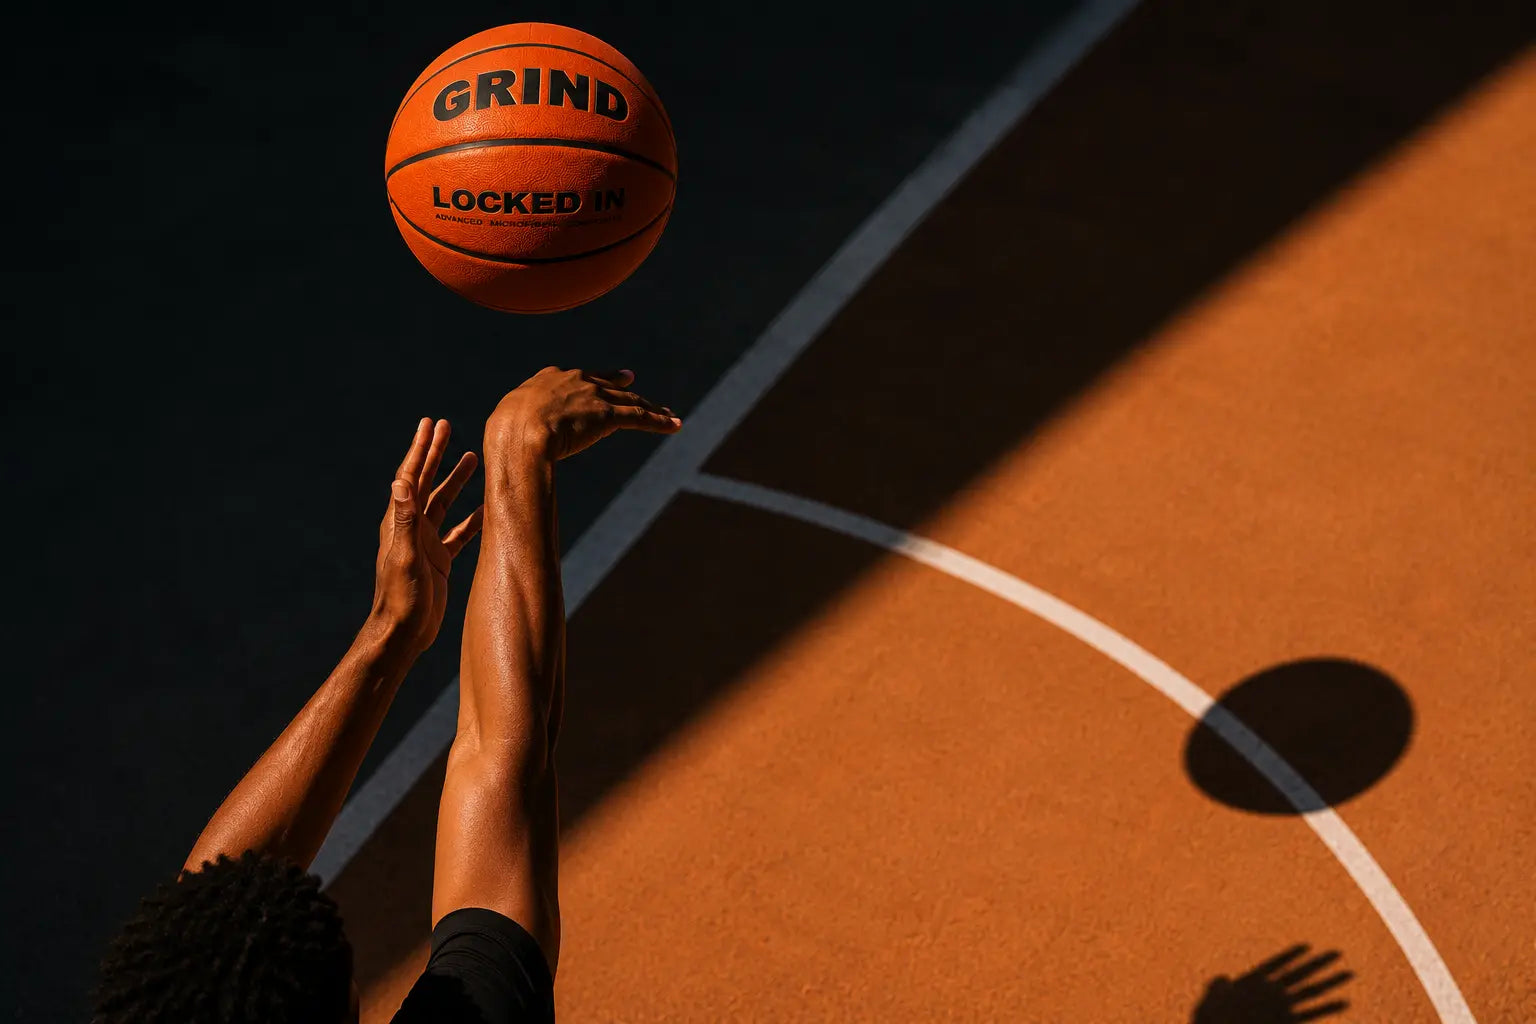
This guide breaks down the seven mechanics of proper basketball shooting form, the most common mistakes, and how to fix them.
Working on Your Form at Home? GRIND Helps You Get More Reps Without Chasing Rebounds →
What Does Proper Basketball Shooting Form Look Like?
Proper basketball shooting form is a repeatable movement built from seven mechanics:
-
Balanced feet
-
Shooting-side alignment from foot through elbow
-
Consistent shot pocket
-
Shooting hand on the finger pads
-
Quiet guide hand
-
Smooth leg-driven rhythm
-
High follow-through
No two players shoot exactly the same. Steph Curry, Klay Thompson, Larry Bird, and Paul George all have different bodies, footwork styles, and release heights.
Copying another player's shape would be detrimental. The goal is to build mechanics that repeat under pressure. As one NBA shooting coach put it, great players do their best in practice to put themselves in a shooting flow state. In games, when it’s working, they are not thinking about any of it.
The 7 Key Mechanics of Basketball Shooting Form
-
Balance: Your Shot Starts Before the Ball Moves
Feet should be roughly shoulder-width apart, knees slightly bent, weight centered. Paul George learned this specifically when working on extending his range. His trainer Mike Piny had him shoot with a heavy ball, starting close and stepping back gradually to the three-point line. The lesson was that the shot becomes easy when the legs drive it. When it becomes an arm shot, the heavy ball exposes that immediately.
Common signs that the balance is off are falling backward after release, kicking legs out, landing to the side, or missing consistently short when legs are tired. The fix is simple but takes discipline. Start with close-range form shooting and freeze your landing after every rep. If you drift, the shot does not count.
-
Shooting-Side Alignment: Build a Straight Line
Proper form requires the whole shooting side to work together. Foot, knee, hip, shoulder, elbow, hand, and eye all need to be on the same line. This is the power line. When it's clean, the ball travels straight. When it breaks anywhere, the miss direction tells you where.
In the Splash Lab breakdown of Curry's form, his shooting shoulder, elbow, and hip stay aligned throughout the shot. Because he is right-handed, he turns his feet slightly left to achieve that alignment. Off the dribble when his feet point straight at the rim, he rotates his hips mid-jump to maintain it. The alignment is the constant. The footwork adjusts to protect it.
The most common mistake is trying to fix the elbow while the feet and hips are misaligned. In other words, the elbow is usually the symptom. The feet are usually the cause.
-
Shot Pocket: Start from the Same Place Every Time
The shot pocket is where the ball starts before the shooting motion begins. Larry Bird described his approach precisely: he takes the ball up to the side of his head where he can see it in the corner of his eye. He learned early that taking it any further back turned the shot into a throw. "I don't really know where it's going to go," he said. "It's more of a throw."
A consistent shot pocket creates a repeatable starting position. The biggest mistake is changing the shot pocket based on distance. When the starting point changes, the motion changes, and the shot becomes unrepeatable under pressure.
Off the catch, Curry dips the ball to his waist to create rhythm before rising into the shot. Off the dribble, the ball is already low, so no dip is needed. The principle is the same: the ball arrives at the shot pocket through a consistent path before the shooting motion begins.
-
Shooting Hand: Control the Ball With the Finger Pads
The shooting hand should be under or slightly behind the ball, with the ball resting on the finger pads, and not deep in the palm. Curry's breakdown shows him using what is called a palm-to-fingertip transfer. The ball starts on the full palm, then transitions to the finger pads as the wrist snaps forward. The ball comes off the middle finger last.
Bird described using the seams as a guide for hand placement on every shot, automatically and quickly. That automatic adjustment is a habit built through repetition until the hands find the right position without conscious thought.
Signs the shooting hand is off are a knuckleball release with no backspin, side spin, the ball slipping on release, or shot direction changing randomly from rep to rep. One-hand form shooting close to the rim fixes most of these because it isolates the release without the guide hand involved.
-
Guide Hand: Steady the Ball, Then Get Out of the Way
The guide hand is a stabilizer. It holds the ball before release and then stays quiet as the shooting hand finishes. In Curry’s case, the off hand comes off the ball right before the wrist snaps forward. He tucks his thumb in next to his index finger on the guide hand as he releases.
CJ McCollum talked about this specifically in his shooting conversation. When his shot started going sideways, he noticed his left hand was getting involved more than it should.
"A lot of people think about their right arm. It's actually counterintuitive — I think a lot about my left hand."
The guide-hand freeze drill is the simplest fix. After release, your guide hand should still be facing the side, not turned toward the rim. If it turns, the thumb pushed the ball. That is your miss direction.
-
Rhythm: Connect the Legs, Lift, and Release
A good shot is one connected motion. The legs load, the ball lifts, the body extends upward, and the wrist finishes. If these pieces happen separately, the shot becomes flat, forced, or slow.
Paul George's heavy ball drill works specifically because it exposes disconnection. A player who shoots with only their arms cannot get a heavy ball to the rim. The legs have to contribute. Once a player feels that leg-driven motion with a heavy ball, the same motion with a standard ball suddenly feels effortless.
McCollum described it as starting in a telephone booth. No matter how much momentum he has coming into the shot, his center of mass stays directly under the ball so he goes straight up and straight down. That eliminates most of the random left-right misses because the release does not have to compensate for a lean.
The most common mistake is rushing the release before the legs contribute power, especially from beyond the three-point line or when tired. The fix is slowing down the rep, loading the legs deliberately, and not releasing until the body is fully extended upward.
-
Follow-Through: Finish High and Hold It
The follow-through reveals whether the shot stayed aligned. A clean follow-through includes full arm extension, a relaxed wrist snap with the fingers toward the rim, the guide hand still, and the finish held until the ball reaches the basket.
Larry Bird's teaching on this was explicit. Follow all the way through, extending the arm and wrist as if they were going right through the basket. The reason for backspin, he explained, is that it gives the ball a chance to die on the rim. A ball with clean backspin that hits the front of the rim drops. A ball with side spin or no spin kicks away.
Curry's breakdown shows his follow-through consistently ending with his elbow directly above his head and his wrist above his shooting eye—in exactly the same position as where the shot started. That is alignment maintained from start to finish.
The most common mistake is dropping the shooting hand early. It cuts the release short, flattens the arc, and usually costs power on longer shots.
Basketball Shooting Form Checklist
|
Mechanic |
What to check |
Quick fix |
|
Balance |
Do you land in control? |
Freeze your landing after every rep |
|
Alignment |
Is your shooting side lined up? |
Check foot, hip, elbow, and hand path |
|
Shot pocket |
Does the ball start in the same place? |
Repeat close shots from one pocket |
|
Shooting hand |
Is the ball on your finger pads? |
One-hand form shooting |
|
Guide hand |
Is it pushing the ball? |
Guide-hand freeze drill |
|
Rhythm |
Are your legs and release connected? |
Heavy ball drill, start close |
|
Follow-through |
Do you finish high? |
Hold the finish until the ball hits the rim |
How Do I Fix My Basketball Shooting Form?
Step 1: Film Your Shot From Three Angles
Front, side, and behind. Watch for feet and landing, elbow path, guide-hand movement at release, release height, ball spin, and follow-through.
Most players only see their shot from the front. The side angle reveals early release and rhythm problems. The behind angle shows elbow flare and alignment.
Step 2: Fix One Mechanic at a Time
Do not rebuild the entire shot in one practice. Pick the biggest problem first. Guide hand, balance, shot pocket, elbow alignment, release, or follow-through. Do each one in isolation, not all at once.
Coaches working with the Basketball Australia Centre of Excellence used individual video overlays for each athlete specifically to identify and isolate one correction at a time, rather than overwhelming players with a full rebuild.
Step 3: Start Close Before Adding Distance
Distance hides bad mechanics. Close-range shooting reveals them.
Paul George's trainer started him right outside the block with a heavy ball, not at the three-point line. The mechanics have to be clean close before they will hold up at range.
Step 4: Add Rhythm and Footwork
JJ Redick's approach to spot shooting was to change his footwork on every single rep because every shot in a game arrives differently. Specifically, left-right, right-left, step out, step back, hop.
"I can't predict which footwork it's going to be," he explained. "So you're building muscle memory, but you also can't let the muscle memory happen for the first time in a game."
Once the ball is coming out straight, adding footwork variability into your reps is what makes the form transfer to actual game situations.
Step 5: Repeat the Corrected Form at Volume
This is where the work either sticks or fades. David Herbert, head coach of the Basketball Australia Centre of Excellence with over 25 years of experience in the Australian national program, tells players it takes 10,000 correct-form shots to build the muscle memory that holds under pressure.
That number’s not exact, but the principle is. Small corrections do not become habits without significant volume of the corrected motion.
Once mechanics are clean, getting those reps without breaking rhythm to chase rebounds is what a basketball shooting machine is built for.
Fix the Mechanics First, Then Use GRIND to Repeat Them With Rhythm →
Common Basketball Shooting Form Mistakes
|
Mistake |
What it looks like |
What it usually causes |
Fix |
|
Guide-hand thumb flick |
Guide thumb pushes at release |
Side spin, left/right misses |
Guide-hand freeze drill |
|
Elbow flare |
Elbow points outside the shot line |
Crooked release path |
Align the full shooting side |
|
Flat shot |
Low arc, line-drive ball |
Short or long misses |
Finish higher, use legs |
|
Inconsistent shot pocket |
Ball starts from a different place |
Unrepeatable timing |
Same pocket, close reps |
|
Shooting with arms only |
Legs do not contribute power |
Short shots, forced motion |
Load legs first; try heavy ball drill |
|
Fading on normal shots |
Body drifts backward |
Short or long misses |
Freeze landing after release |
|
Dropping follow-through |
Hand comes down before ball arrives |
Low arc, weak finish |
Hold the finish |
|
Side spin |
Ball rotates diagonally |
Poor touch and direction |
One-hand form shooting |
How Do NBA Players Shoot With Such Consistent Form?
They do not all shoot the same way. Their consistency comes from repeating their own personal mechanics under pressure until the motion becomes unconscious.
McCollum and Redick both said that in the games where they shoot best, they’re thinking about nothing. Every rep in practice is building toward that state.
Redick described going through stretches in summer training where he shoots with his eyes closed just to feel the motion, because "a lot of times you'll make a shot but it won't be a good rep."
The goal is clean mechanics. Made shots are the result.
Curry's set point is just above his right eye. His elbow reaches a 90-degree angle at the armpit. The ball starts moving toward the basket at the same point in the motion on every rep. The alignment that produces that consistency took years of deliberate repetition.
What looks effortless at game speed is the product of mechanics repeated so many times they no longer require conscious thought.
Best Drills to Improve Basketball Shooting Form
One-Hand Form Shooting
Stand close to the rim, two to four feet away. Shoot with your shooting hand only. Hold the follow-through and watch the ball spin. The ball should rotate cleanly backward off your middle finger. Add the guide hand only after the one-hand release is straight and clean.
Guide-Hand Freeze Drill
Shoot close shots. After release, freeze your guide hand in place and check where it is pointing. It should face the side, not toward the rim. If it turns toward the rim, your thumb pushed the ball. That thumb flick is what causes left/right misses.
Heavy Ball Drill
Paul George credits this specifically for extending his range. Use a three-pound heavy ball, start right outside the block, and step back gradually toward the three-point line. Shoot with the same form you would use on a real ball.
The heaviness exposes arm shooting immediately. If the legs are not contributing, you cannot get it there. Once you feel the leg-driven motion with the heavy ball, the standard ball feels effortless.
Balance Hold Drill
Shoot from close or mid-range and hold your landing for two full seconds after release. If you drift, the shot does not count. This drill is unglamorous but it fixes the most common cause of arc and distance inconsistency: unstable landings.
5-Spot Form Progression
Shoot from five spots: front, both wings, both corners. Start close. Make five clean shots with good mechanics from each spot before moving back. Do not move to a longer distance until form stays the same under fatigue.
This is the drill that tests whether your mechanics hold when your legs are tired, which is when form breakdowns actually cost you.
GRIND Catch-and-Shoot Rhythm Drill
Pick three to five spots. Set one form cue per round (guide hand, balance, follow-through) and hold that cue on every rep. Hold the follow-through after each shot. Track your miss direction rather than just your make percentage.
The GRIND Machine returns the ball to your spot automatically, keeping you in rhythm across the full session without stopping to chase rebounds. For a full breakdown of how to structure that kind of drill work, the best basketball drills for practice guide covers the session structure in detail.
How to Practice Shooting Form at Home
Start three to five feet from the hoop. Use one form cue per workout. Film five to ten reps and watch the footage. Track your miss direction because miss direction tells you which mechanic is breaking down. Do not move back until form holds at the current distance.
Once mechanics are clean, the priority shifts to volume. That is where most home players hit the wall.
Without a rebounder, every miss breaks rhythm and costs reps. A basketball returner or shooting machine is what lets you sustain the corrected motion at real training volume. The GRIND Machine catches makes and misses automatically and passes to 9 spots at up to 1,000 reps per hour, so the session stays in rhythm rather than breaking down into a series of individual chases.
Turn Form Work Into a Real Solo Workout With Automatic Rebounding and Return →
FAQ
What does proper basketball shooting form look like?
Balanced feet, shooting-side alignment from foot through elbow, a consistent shot pocket, shooting hand on the finger pads, a quiet guide hand, smooth leg-driven rhythm, and a high follow-through held until the ball reaches the rim.
How do I fix my basketball shooting form?
Film your shot from three angles, identify the one biggest mechanical problem, fix it close to the basket, then add distance only when it holds. Volume of the corrected motion is what makes the fix stick.
What are common shooting form mistakes in basketball?
Guide-hand thumb flick causing side spin, elbow flare, flat arc from not using legs, inconsistent shot pocket, fading backward, and dropping the follow-through early.
How do NBA players shoot with such consistent form?
They repeat their own mechanics thousands of times until the motion becomes unconscious. Their shots may look different from each other, but great shooters all protect the same fundamentals, which are balance, rhythm, release path, and follow-through.
Should my elbow be directly under the ball when shooting?
Under or slightly inside the ball, so the forearm and hand can send the ball straight toward the rim. Do not force an uncomfortable position, but avoid elbow flare.
Why does my basketball shot have side spin?
Side spin usually comes from guide-hand interference, specifically the thumb flicking or pushing at release. One-hand form shooting and the guide-hand freeze drill fix this.
How long does it take to fix shooting form?
Small changes can feel different quickly, but building muscle memory that holds under game pressure takes significant volume of the corrected motion. David Herbert of Basketball Australia's Centre of Excellence puts it at approximately 10,000 correct-form shots. Fix mechanics close to the basket first and expect weeks of focused reps before it holds at range.
Share:
How to Shoot a Basketball: The Complete Step-by-Step Guide to Perfect Form
Basketball Shooting Tips That Work: 12 Drills and Cues From Trainers